If you're looking to instantly upgrade your yard with a lush, green lawn, sod installation is the fastest and most effective solution. Unlike seeding — which can take weeks or even months — sod provides instant curb appeal and a mature, walkable surface in a matter of days.
At Elegance Outdoor Living, we specialize in professional sod installation for homeowners who want reliable results without the guesswork. In this guide, we’ll break down everything you need to know about getting started with sod — and why it’s a smart choice for Texas landscapes.
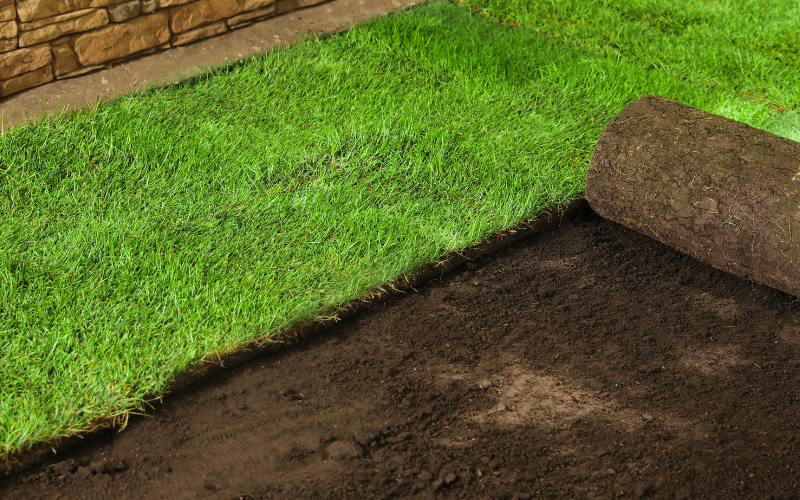
Sod is mature grass that’s grown on a farm, harvested in rolls, and transplanted to your yard. It includes grass and a layer of soil that holds the roots together, allowing for instant coverage of bare or damaged areas.
🌱 Sod is ideal for homeowners who want a fast, healthy lawn without waiting for seed to grow.
With proper care, sod can take about 10–14 days to establish shallow roots, and full rooting typically occurs within 3–6 weeks.
Rooting timeline:
💧 Watering is critical during the first two weeks. A professional install ensures optimal soil prep and sod contact for faster rooting.
In North Texas, the best time for sod installation is:
Avoid installing sod in extreme heat unless you can commit to strict watering — which our team will guide you through if needed.
At Elegance Outdoor Living, we follow a detailed, efficient process to ensure your sod looks and performs beautifully:
We don’t just lay sod — we create lawns that are built to last.
Many homeowners try to DIY their sod project — but small mistakes can lead to big problems like:
When you choose professional sod installation, you avoid the hassle and get a uniform, healthy lawn from day one.
To keep your new lawn looking great:
After 4–6 weeks, transition to a typical watering and mowing schedule.


